Therefore one of the main tasks of security monitoring today is to combine these different data sources, which means to apply the threat intel information to the data that is already available in SIEM systems or scan for it on-demand using tools like my free IOC scanner LOKI or our APT Scanner THOR.
In this article I would like to describe a method to apply threat intel information to log data in Splunk using simple lookup definitions.
I recently integrated two different threat intel receivers in my free IOC scanner LOKI. One of them fetches all IOC (indicator of compromise) elements from AlienVault’s Open Threat Exchange platform OTX and saves them to a subfolder in the LOKI program folder in order to be initialized during startup.
This weekend I added a new option called “–siem” that instructs the receiver to generate a CSV file with header line and the correct format for a lookup definition in Splunk.

Example – Threat Intel Feed OTX Receiver (LOKI)
The resulting file for the hash IOCs looks like this:
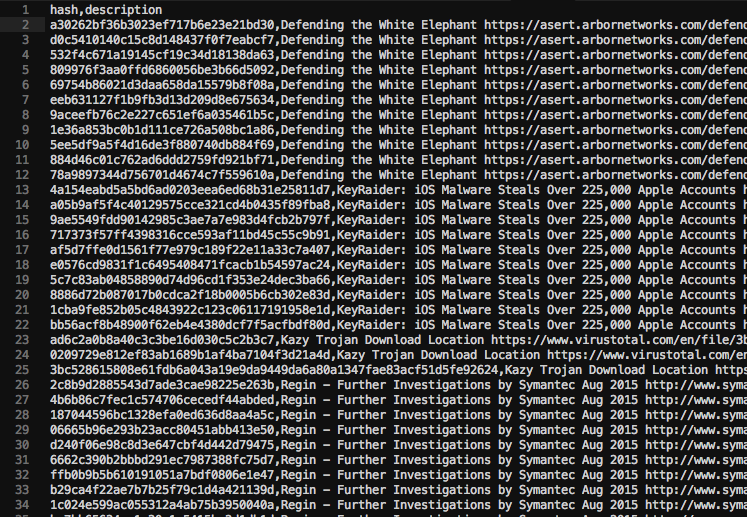
Threat Intel Hash CSV for Splunk Lookup
Using the “-o” parameter you are able to select an output folder. I chose the folder for the lookup definitions in the search app, which is “$SPLUNK_HOME/etc/apps/search/lookups”.
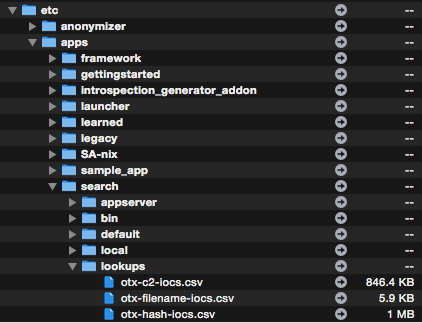
Threat Intel CSV Files in Splunk Search App Lookup Folder
After saving the output files to this directory we can select the CSV file in the lookup definition settings dialog (Settings > Lookups > Lookup definitions > Add new). I named the lookup “otxhash”.
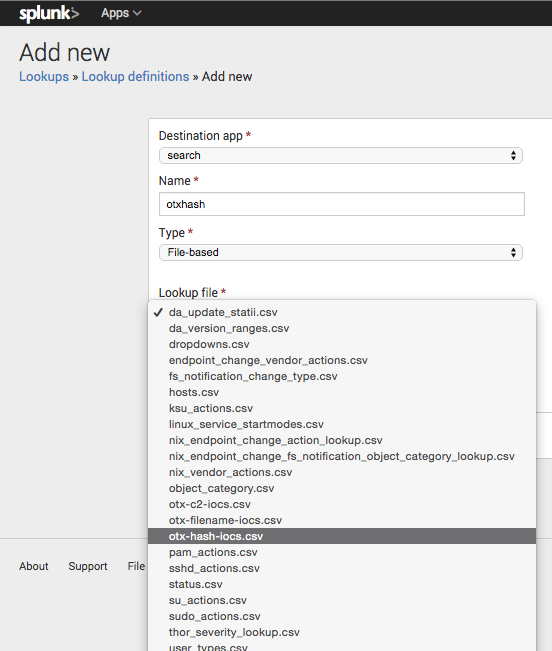
Threat Intel CSV File Lookup Definition in Splunk
Now we can apply this lookup to all log data that contains file hash information like Antivirus logs, THOR and LOKI scan results or in this case the logs of Microsoft Sysmon.
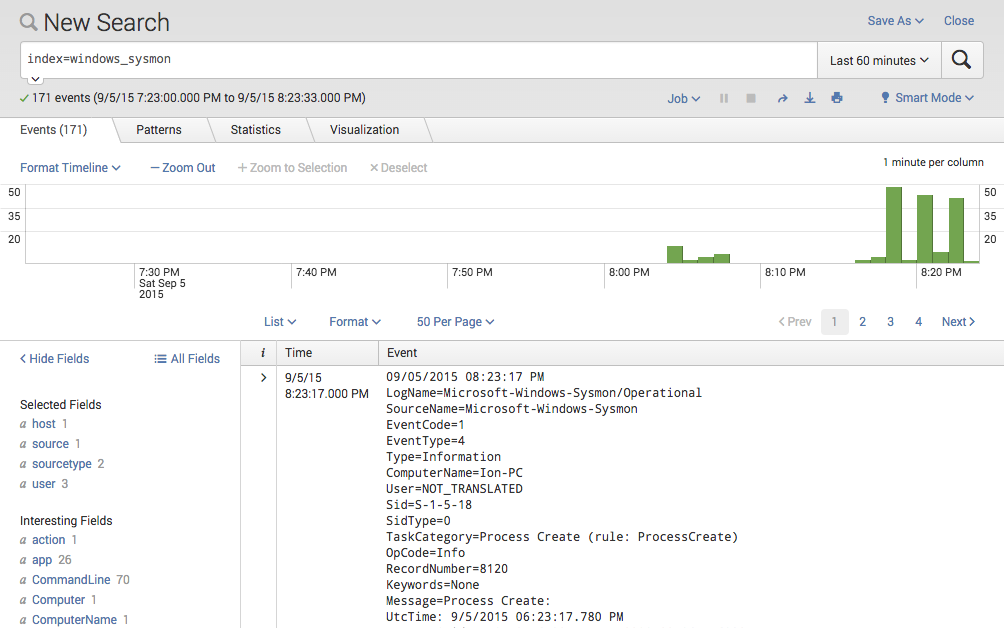
Windows Sysmon Log Data in Splunk
Using the free Add-on for Microsoft Sysmon all the log fields will be extracted automatically. You will see a field named “Hash” that can be used in our search definitions to allow a direct lookup.
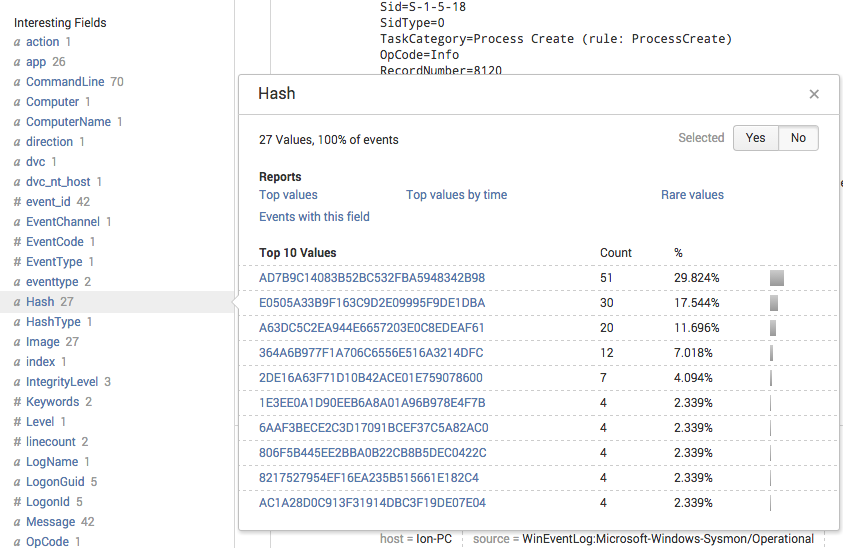
Windows Sysmon Log Data with Hash Values of Executables
The lookup compares the “Hash” field from the Sysmon event message with the “hash” field from the OTX threat intel CSV file and sets a new “threat_description” field with the value of the “description” field from the CSV.
index=windows_sysmon
| lookup otxhash hash AS Hash OUTPUT description AS threat_description
| search threat_description=*
| table UtcTime,ComputerName,User,Hash,ProcessId,CommandLine,threat_description
After the lookup I search for all entries that have a “threat_description” field set and display them in a easy-to-read table view. Only entries that had a “Hash” matching on a “hash” from the CSV will have this new field set. In the example below I had a match on an unwanted application called “Pantsoff” that I used in my Lab environment for this POC.

Threat Intel Lookup in Splunk
I would define this search as an “Alert” that runs every 15 minutes and searches in log data of the last 15 minutes in order to get immediately informed if a blacklisted executable had been used. (avoid realtime searches/alerts in Splunk)
Furthermore the threat intel receiver should be scheduled via cron in order to run hourly/daily.
The two other files create by the threat intel receiver contain information on filenames and C2 server (hostnames, IPs) that can be applied in a similar way. The only small downer is that Lookups can only be used for “equal” matches and don’t allow to search for elements that “contain” certain fields of the CSV file. This is no problem in case of the C2 server definitions but for the filename definitions, which can be e.g. “AppData\\evil.exe”.
I’ll improve the Threat Intel Receivers in the coming weeks and add the “–siem” option to the MISP Receiver as well.
I hope you enjoyed the article and found it inspiring even if you don’t use Splunk or the other mentioned tools.
Besides: I am working on a RESTful web service with the working title “TRON” that allows to query for threat intel indicators and supports different comparison modes including including the missing “contains” supporting OpenIOC and STIX as input files. It is not ready yet but I’ll inform you as soon as there is something to show.
Follow me on Twitter via @Cyb3rOps